
Mastering the art of cafe-quality coffee at home begins with understanding your equipment. If you have recently invested in a Barista Express or a similar machine from the Breville lineup, you likely realize that the transition from automatic drip brewers to semi-automatic espresso extraction requires a shift in technique.
Learning breville espresso machine how to use protocols effectively is not just about pushing a button; it is about managing variables like grind size, dose, and water pressure to achieve the perfect golden-brown crema. Whether you are a novice looking to pull your first shot or an enthusiast seeking consistency, this guide breaks down the professional workflow required to get the most out of your hardware.
Initial Setup and Calibration of Your Machine

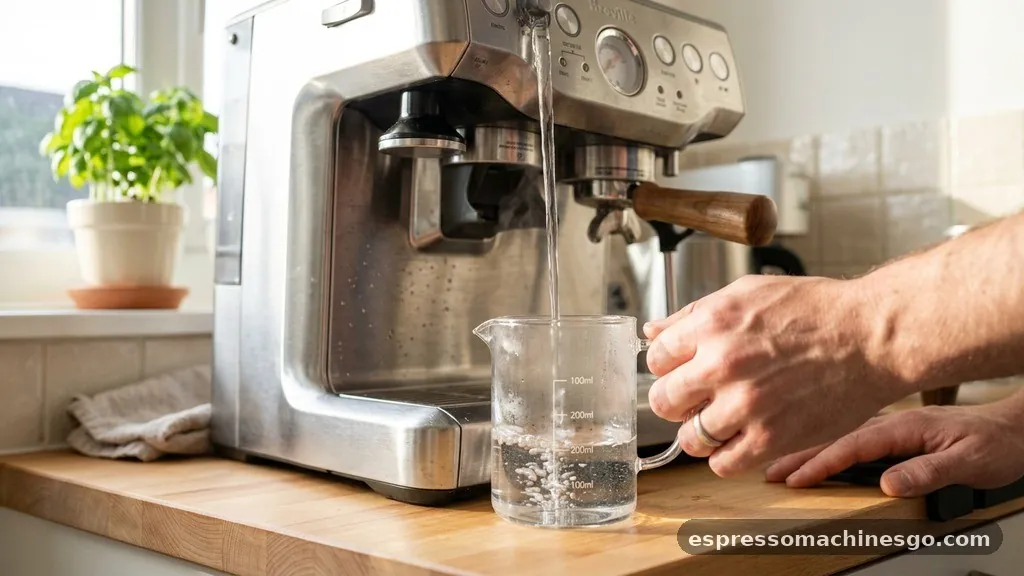
Before you pull your first shot, the unboxing and initial setup are critical. Many users fail to achieve good results because they skip the priming process. When you first unpack your unit, it is essential to flush the system with clean, cold water.
This removes any manufacturing residues and ensures the internal thermocoil is properly primed. You should also test your local water hardness using the included strip. If your water is high in mineral content, it will scale your boiler prematurely, affecting temperature stability.
Once the machine is primed, calibration focuses on the grinder. If you are using a model with a built-in burr grinder, the adjustment dial on the side is your primary tool. A common mistake is adjusting the grind while the grinder is empty.
Always adjust the grind size while the motor is running to prevent burr damage. Start with a medium-fine setting, which should resemble the texture of table salt. If your espresso flows too quickly—like water—your grind is too coarse.
If it barely drips or takes longer than 30 seconds to produce a standard double shot, your grind is too fine. Finding this “sweet spot” is the foundation of every great cup.
The Anatomy of a Perfect Espresso Shot
To understand how to use your machine for optimal results, you must master the variables of the extraction process. Extraction is the process of dissolving soluble compounds from coffee grounds using pressurized hot water.
The goal is to balance acidity, sweetness, and bitterness. A perfectly pulled shot should exhibit a rich, hazelnut-colored crema that persists for at least a minute after brewing.
The golden ratio for espresso is generally 1:2. This means for every gram of dry coffee grounds, you should aim for double the weight in liquid espresso. For example, if you dose 18 grams of coffee into your portafilter, you should aim for roughly 36 grams of liquid yield in your cup.
Using a digital scale is the only way to ensure this consistency. Relying on the machine’s volumetric settings can be deceptive because coffee density changes based on the roast level and freshness of your beans. By weighing your input and output, you control the strength and flavor profile of every single drink you prepare.
Step-by-Step Workflow for Daily Brewing
Following a consistent routine is the secret to repeatable success. When you are ready to brew, start by preheating your portafilter.
Cold metal acts as a heat sink, dropping the temperature of your water and resulting in a sour, under-extracted shot. Run a blank shot—hot water without coffee—through the group head and into the portafilter to warm the entire system.
1. Grind your beans directly into the portafilter basket, ensuring an even mound.
2. Use a distributor or your finger to level the grounds, ensuring there are no air pockets.
3.
Tamp the grounds firmly and level. Apply consistent, downward pressure—the exact poundage matters less than the consistency of the pressure.
4. Lock the portafilter into the group head firmly.
5.
Initiate the extraction immediately to prevent the coffee from burning against the hot shower screen.
6. Monitor the flow, aiming for a consistent, syrupy stream that starts as a slow drip and turns into a steady flow.
Following these steps ensures that you are extracting the maximum amount of flavor without introducing the harsh, astringent notes associated with over-extraction.
Managing Milk Texturing for Latte Art
One of the most rewarding aspects of a Breville espresso machine is the steam wand. Texturing milk is a two-part process: stretching and texturing. Stretching occurs at the beginning of the process when you introduce air into the milk to create foam.
You should hear a faint “paper-tearing” sound near the surface of the milk. Once the pitcher feels warm to the touch, you move on to texturing, where you submerge the tip slightly deeper to create a vortex.
The goal is to achieve “microfoam,” which has the consistency of wet paint. If the milk has large, soapy bubbles, you have introduced too much air too early. If the milk is thin and hot, you haven’t stretched it enough.
Always purge your steam wand before and after use to ensure no milk solids clog the internal nozzle. Keeping the steam wand clean is essential for maintaining the pressure required for professional-grade microfoam. For more detailed information on coffee science, visit the National Coffee Association guide on brewing best practices.
Troubleshooting Common Extraction Issues
Even with the best equipment, you will occasionally encounter issues. If your shot tastes sour, it is likely under-extracted.
This often happens if your water temperature is too low or your grind is too coarse. Conversely, if your shot tastes bitter, dry, or burnt, it is likely over-extracted, meaning the grind is too fine or your dose is too high.
| Issue | Potential Cause | Suggested Fix |
|---|---|---|
| Fast flow (Souring) | Grind too coarse | Adjust burr to finer setting |
| Slow flow (Bitter) | Grind too fine | Adjust burr to coarser setting |
| No Crema | Old or stale beans | Use fresh, locally roasted coffee |
| Uneven Extraction | Poor tamping technique | Ensure level bed before tamping |
By systematically adjusting one variable at a time, you can isolate the problem. Never change the dose and the grind size simultaneously, or you will never know which adjustment corrected the shot. Consistency is the primary goal of the home barista.
Advanced Tips and Topical Gaps
A common question that often goes unanswered is how to use a Breville machine for “regular” coffee, often referred to as an Americano or a Long Black. Many users attempt to pull a large volume of water through a single puck of coffee, which leads to a thin, bitter, and over-extracted mess.
Instead, pull a standard double shot of espresso and then add hot water from the machine’s dedicated hot water spout (or a kettle) to dilute the espresso to your preferred strength. This preserves the integrity of the coffee oils and avoids the woody, papery taste of over-extracted grounds.
Another gap involves the “unboxing” period. Many users overlook the importance of the water filter. If you live in an area with hard water, the water filter is not optional; it is a necessity for protecting the machine’s internal pumps and thermoblocks.
Additionally, consider the importance of the bean hopper. Keeping it full is convenient, but oils from the beans can go rancid over time. It is best to only keep enough beans in the hopper for your daily needs to ensure the freshest possible extraction every time you turn the machine on.
Frequently Asked Questions
How much coffee should I use for a double shot?
For a standard double shot, you should use between 18 and 20 grams of finely ground coffee. The exact amount depends on the size of your portafilter basket. Always use a digital scale to weigh your grounds to ensure you are getting the correct dose for your specific roast.
Can I use pre-ground coffee in my machine?
While you can use pre-ground coffee, it is not recommended for espresso. Espresso requires a specific, very fine grind size that pre-ground coffee rarely achieves. Using pre-ground coffee often results in weak, watery shots because the particles are too large to create the necessary resistance for high-pressure extraction.
How often should I clean the machine?
You should perform a cleaning cycle using the provided cleaning disc and tablet whenever the machine alerts you, typically after 200 shots. Additionally, you should purge the steam wand after every use and wipe down the group head to prevent the buildup of coffee oils, which can turn rancid.
Why is my espresso shot so sour?
A sour taste usually indicates under-extraction. This happens when the water passes through the coffee too quickly, failing to dissolve enough of the sugars and oils. To fix this, adjust your grinder to a finer setting, increase your dose, or ensure your machine has fully preheated before brewing.